Want to transform your home with an elegant stone look? Here’s how to install faux stone panels. This guide provides step-by-step instructions, essential tools, and materials needed for a smooth and efficient installation.
Key Takeaways
- Ensure faux stone panels acclimate for at least 24 hours before installation to enhance adhesion and longevity.
- Proper surface preparation is key, including weather-resistant barrier application for framed walls and thorough cleaning for concrete surfaces.
- Accurate measuring and planning are essential for material calculations and achieving a visually appealing layout during panel installation.
How to Install Faux Stone Panels: A Step-by-Step Guide
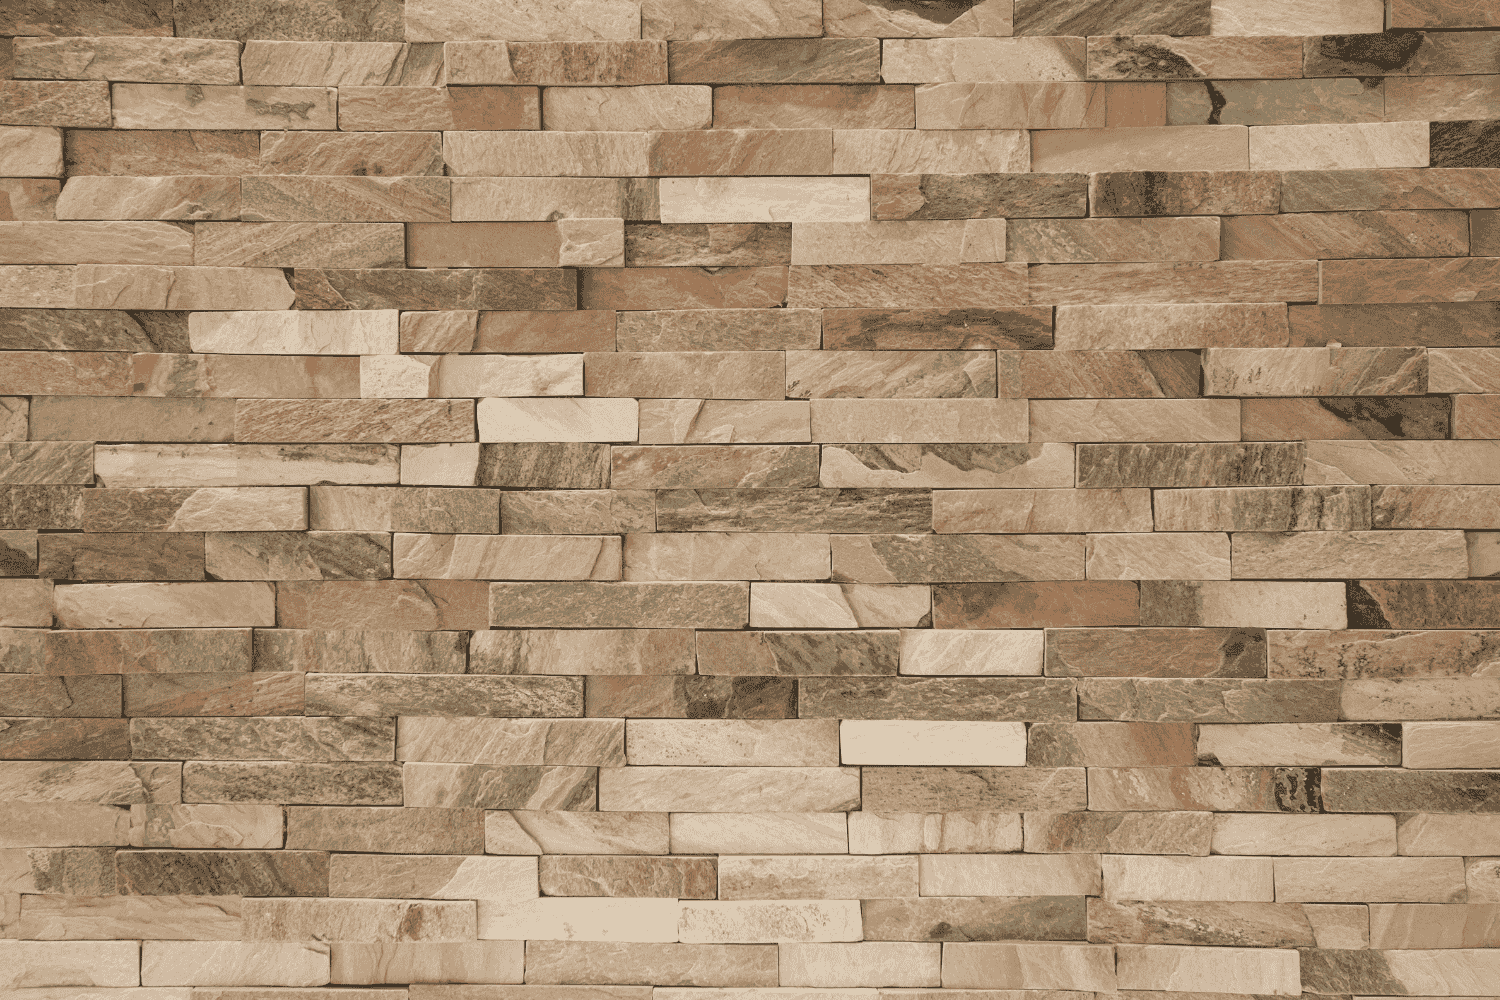
Faux stone wall panels are a cost-effective and simpler alternative to natural stone, making them an appealing option for many homeowners. Allow the panels to acclimate for at least 24 hours to adapt to the room’s temperature and humidity. This ensures better adhesion and longevity of the panels.
Prioritize safety when working with tools and materials. Always wear protective gear, such as gloves and safety glasses, when cutting faux stone panels. A wood cutting saw with a finish blade aids in making precise cuts. Measure twice before cutting to avoid wastage. With basic tools and some DIY knowledge, you can achieve stunning results with faux stone panels.
Mortar acts as the adhesive that secures the stone veneer to the wall, providing a strong bond that will last for years. Install faux stone panels in various interior spaces like walls and under cabinets, offering design versatility. Follow these detailed steps to transform your space.
Introduction
Faux stone panels are a popular choice for adding aesthetic appeal and durability to both interior and exterior spaces. They offer a seamless installation experience, especially with products like tongue-and-groove stone panels from manufacturers like Affinity Stone. Whether you’re revamping a fireplace, creating an accent wall, or enhancing your home’s exterior, these panels can give your project a fresh, sophisticated look.
Free online installation guides and videos make installing stone veneer easier than ever. You can achieve a complete transformation in as little as one day, depending on the project size. With the right materials and a bit of patience, you can create a stunning new look for your home that will impress for years to come.
Getting Started with Faux Stone Panels
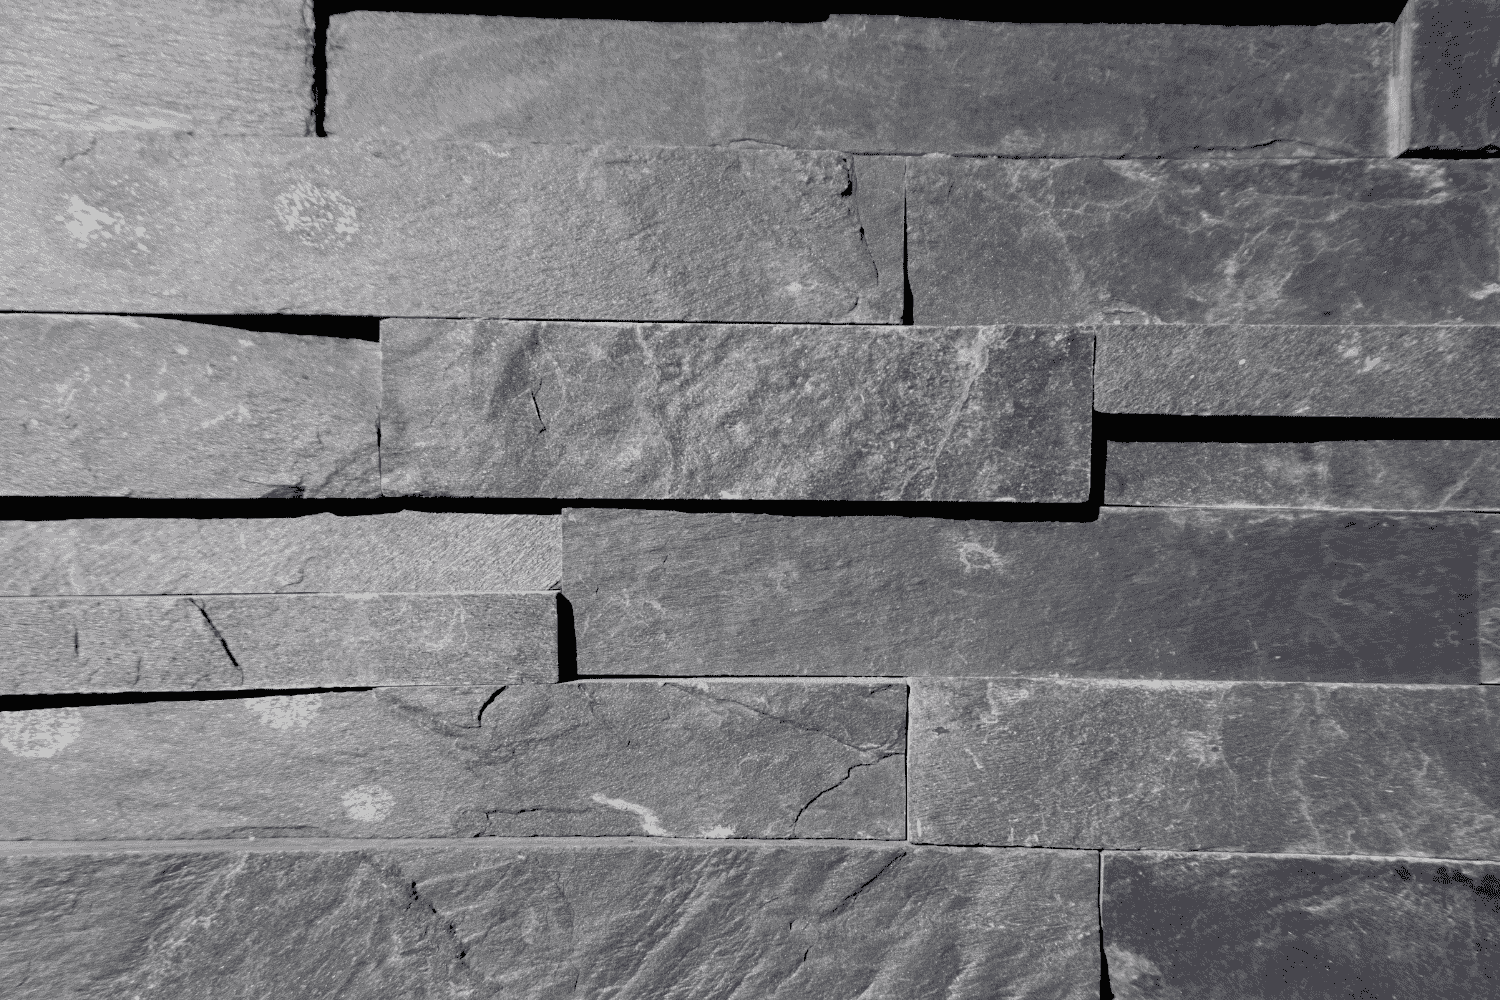
Let the faux stone panels acclimate for at least 24 hours in the installation area before starting. This step ensures the panels adjust to the temperature and humidity, preventing any movement or expansion after installation. Always wear protective gear when cutting the panels to avoid injuries.
The right tools are crucial for a successful project. A wood cutting saw with a finish blade is recommended for making precise cuts on faux stone panels. Mortar, specifically polymer fortified Type S mortar, acts as the adhesive that secures the stone veneer to the wall, providing a durable bond.
With these preparations, you’re ready to transform your space.
Calculating Materials for Your Project
Accurate calculations ensure you have enough materials without excessive waste. Start by measuring the height and length of each wall or section you plan to cover, then multiply these dimensions to determine the total square footage. It’s wise to estimate a waste factor of 5-10% to account for potential breakage or miscalculations during installation.
For corners, measure both the outside and inside corners, adding their lengths to get the total linear feet needed. Consider the standard mortar joint size of 1/2 inch when calculating materials, and adjust your estimates if your joint size varies.
These calculations will prepare you to start your project without interruptions.
Preparing the Surface for Installation
Surface preparation is crucial for the adhesion and longevity of faux stone panels. Ensure that the installation surface is structurally sound, clean, and dry. Preparation steps vary for framed walls and concrete surfaces.
Framed Walls:
For framed walls, begin by applying a weather-resistant barrier to protect the underlying structure. Next, install metal lath using galvanized nails or screws spaced 6 inches on center vertically and 16 inches on center horizontally. Ensure the fasteners penetrate at least 1 inch into the wall for a secure hold.
Stop the metal lath 1 inch from finished edges to allow for proper installation. This preparation provides a stable foundation, ensuring proper adhesion and longevity for your faux stone panels.
Concrete Surfaces:
Concrete surfaces require thorough cleaning before installation. Ensure the surface is free from paint, and if necessary, sandblast or strip it to remove any residual coatings. If the concrete contains release agents, etch it with an appropriate etching agent to ensure proper adhesion.
In some cases, a scratch coat may be necessary, especially when using metal lath on concrete surfaces. Use a masonry hammer or angle grinder to shape the stone edges precisely during preparation.
A clean and prepped surface ensures secure adhesion and a fantastic appearance for your faux stone panels.
Applying the Scratch Coat
A scratch coat is essential with metal lath, providing a rough surface for the stone veneer to adhere to.
Ensure the dry mixture is free from clumps before adding water. Mix the scratch coat until it achieves a pasty consistency, similar to whipped potatoes. This consistency eases application and raking for optimal adhesion.
Use a notched trowel to rake horizontal grooves in the scratch coat while it’s still wet. These grooves enhance the bond between the scratch coat and the stone veneer. Let the scratch coat dry properly before proceeding.
Planning Your Stone Layout
Planning your layout is crucial for a visually appealing result. Establish an order for the panels to balance color and texture, and offset the seams for a more natural appearance. A level line helps maintain a straight installation.
Lay the stone veneer panels flat to visualize the final arrangement and determine sizing, colors, and trimming. Consider the orientation of the seams to achieve a more natural look. Stagger the seams both vertically and horizontally to avoid a monotonous pattern. This helps foresee potential issues and make adjustments before attaching the panels. It ensures an even distribution of colors and textures, enhancing your project’s overall aesthetic.
Then, trim the edges of the stone veneer panels accurately with a masonry hammer or angle grinder with a diamond blade. Ensure proper safety equipment is worn to protect yourself from dust and debris. A skill saw with a diamond or masonry blade can also be used for cutting the panels. Accurate trimming ensures the panels fit together seamlessly, especially around corners and edges. With the panels cut to size, you’re ready to start the installation.
Installing Faux Stone Panels
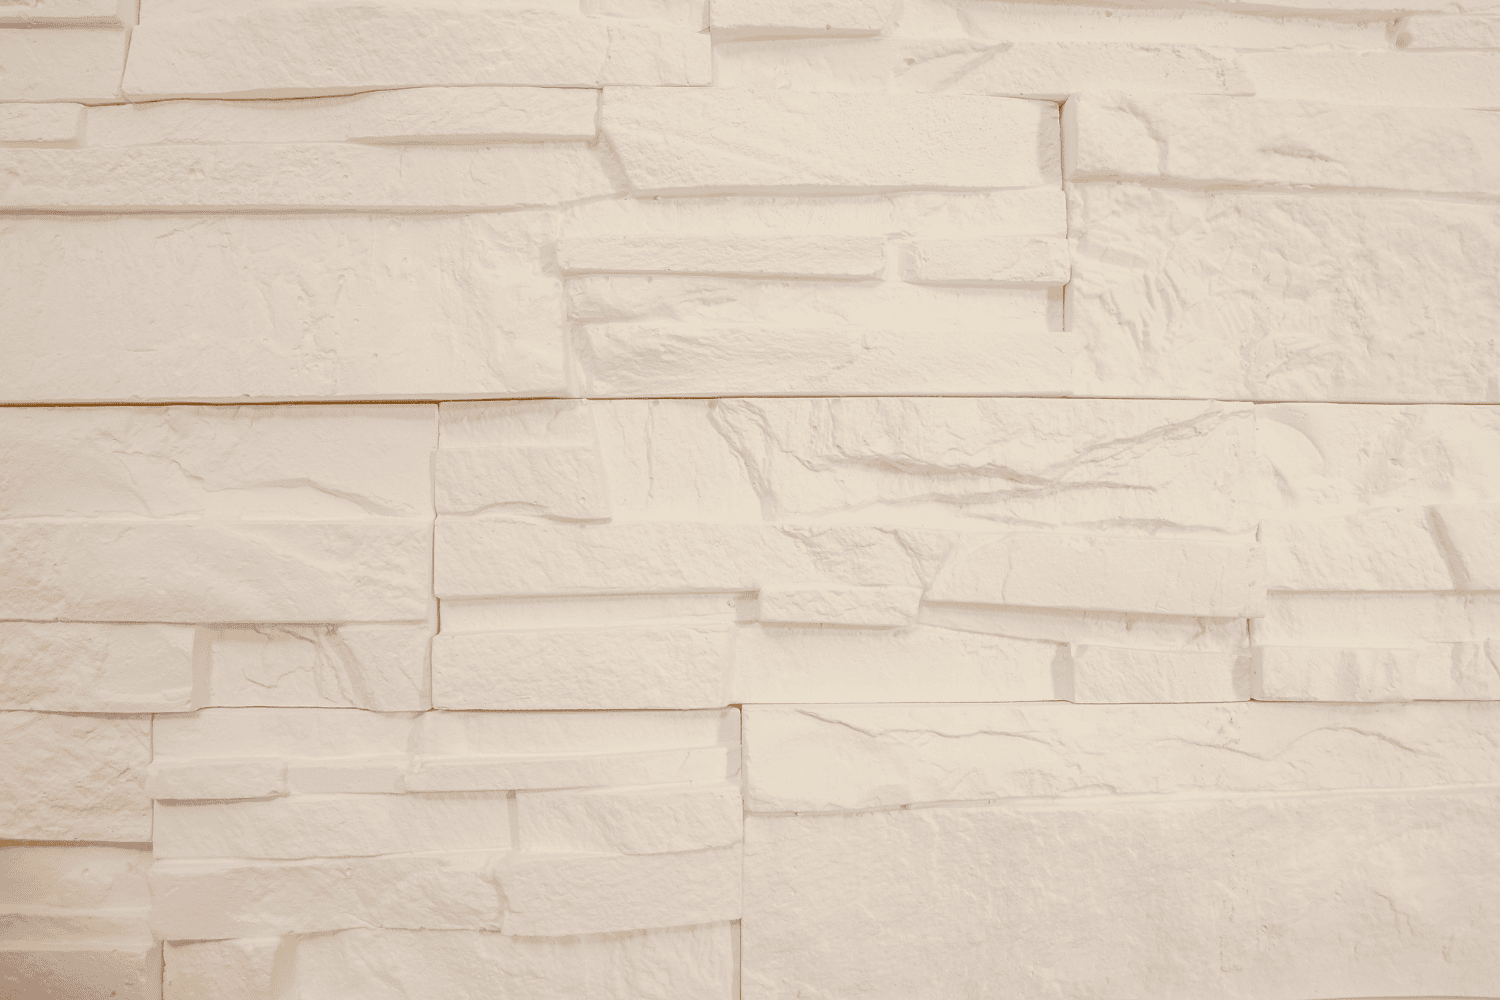
With your panels prepared and layout planned, it’s time to install the faux stone panels. The correct tools and materials are crucial for a successful installation.
Here are the steps for mixing the mortar and attaching the panels.
Mixing the Mortar:
The recommended mortar for installing faux stone panels is polymer fortified Type S mortar (SVM). Follow the manufacturer’s directions accurately to achieve the best results. Mix the scratch coat with 1 part Type S Masonry Cement to 2.5 parts sand, mixing for at least 5 minutes.
Notched trowels are essential for evenly spreading mortar during installation. Ensure the mortar is mixed to a consistency that allows it to adhere well to both the wall and the back of the stone panels.
Attaching the Panels:
Install the corner pieces first, working from the bottom to the top. Connect the panels from right to left, ensuring each panel is level and aligned with adjacent panels. Dampen the back of the stone with a masonry brush or sponge, but do not saturate.
Butter the back of the stone with a masonry trowel, applying 1/2” to 1” of mortar and creating a ridge. Offset the vertical alignment of the panels by cutting a panel in half for the second course. This ensures a strong bond and a visually pleasing result.
Grouting and Finishing Touches
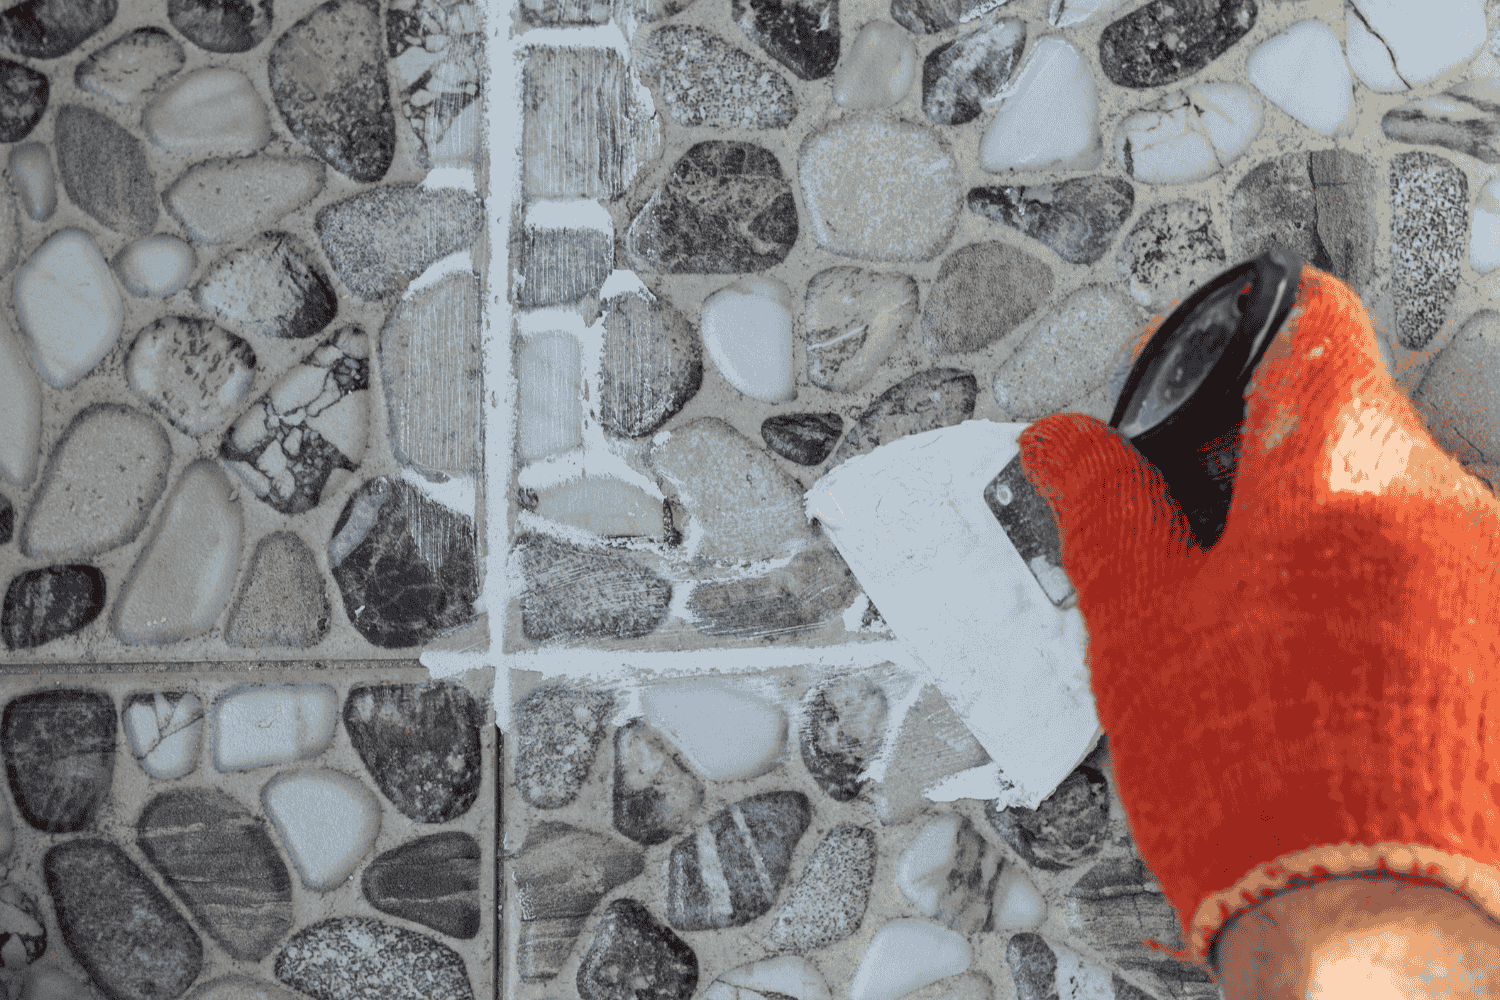
The final steps involve grouting and adding finishing touches. This ensures the panels are securely attached and the joints are smooth and uniform.
Here are the steps for filling and tooling the joints.
Filling the Joints:
Use a grout bag and joint tool to fill and smooth the joints between the stone pieces. Fill the grout bag carefully to avoid creating air pockets that can weaken the joints. Apply the grout evenly, ensuring all gaps are filled to provide additional stability to the installed veneer.
Smooth and compact the grout joints after filling for a uniform finish. Excess grout should be cleaned from the joints using a soft brush after tooling. This ensures a neat and professional appearance.
Tooling and Cleaning the Joints:
After grouting, tool the joints to the desired depth, then brush with a whisk broom for a smooth finish. The grout is ready for finishing when it crumbles away. It should have a sandy texture when brushed.
Immediately remove any residue with brushes and sponges to maintain a neat installation. This final step ensures your faux stone panels look clean and polished, enhancing their overall appearance.
Summary
Transforming your space with faux stone panels is not only achievable but also incredibly rewarding. By following this step-by-step guide, you can confidently tackle the installation process, from preparing the surface and calculating materials to planning your layout and applying the finishing touches. The result is a stunning, durable feature that adds both aesthetic appeal and value to your home.
Remember, the key to success lies in thorough preparation, attention to detail, and patience. Take pride in your work, knowing that each step brings you closer to a beautiful stone veneer masterpiece. So, roll up your sleeves and get ready to enjoy the fruits of your labor—a transformed space that will impress for years to come.
Frequently Asked Questions
How long should I let the faux stone panels acclimate before installation?
You should let the faux stone panels acclimate for at least 24 hours in the installation area to ensure they adapt properly to the local temperature and humidity. This will help avoid potential issues during installation.
What tools do I need to cut faux stone panels?
To cut faux stone panels, you need a wood cutting saw equipped with a finish blade for precise cuts, and don’t forget to wear protective gear for safety.
How do I prepare a concrete surface for installing faux stone panels?
To prepare a concrete surface for installing faux stone panels, clean it thoroughly, remove any paint, and etch it if necessary to ensure proper adhesion. This preparation is crucial for a successful installation.
What type of mortar should I use for installing faux stone panels?
For installing faux stone panels, it’s best to use polymer fortified Type S mortar for a strong and durable bond. This ensures your installation will be both secure and long-lasting.
How can I ensure a natural look when laying out the stone veneer panels?
To achieve a natural look with stone veneer panels, offset the seams both vertically and horizontally while using a level line for a straight installation. This technique will help create a more organic appearance.

